I decided it was important to create my own YouTube account in case I needed to upload any videos. I could upload videos through blogger itself but they aren't very good quality and take a long time to upload, a YouTube account would give me better quality videos and may not take as long to upload. It is also very easy to then share my videos onto my blogger account so they are visible on my blog.
This is my YouTube account:
This is the process I went through to create my YouTube account and also upload my first video onto my channel.
Firstly I went onto the YouTube website and clicked on the "Sign In" button at the top right hand side of the screen which took me to this page and it gave me the option to "Create An Account" in the top right hand corner.
When I clicked on the "Create An Account" option it took me to this page where I had to fill out my details to be able to create an account properly.
After I had created my account it took me to my profile page where it gave me the chance to add a photo of myself that everyone would see and also gave me some extra information about the process.
Once I completed that page I was taken o a welcome page which confirmed my account.
This is a copy of the email that was sent to me to confirm I had signed up to YouTube successfully and gave me some extra information that I might need in the future.
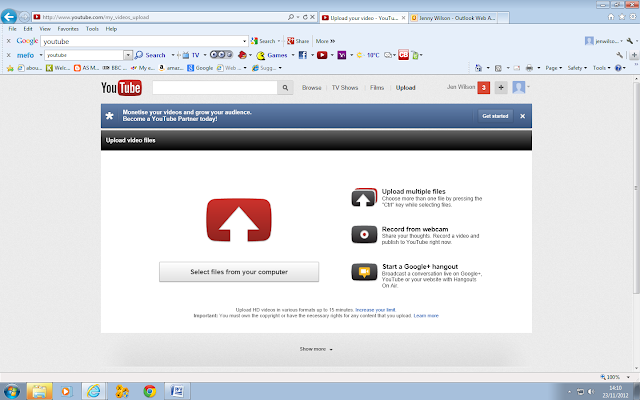
I then went on to upload my first video. This is the page you use to do so. I was a very simple process.
This is the uploading process and how my page looked once the video was uploaded to YouTube.
This is how the video will be presented to the public now it is on YouTube. As you can see at the bottom of the page I clicked on the share button and the icon for Blogger came up when I clicked on the "more" button. This is how I uploaded the video from my YouTube account onto my blog so it can be seen on both sites.


No comments:
Post a Comment